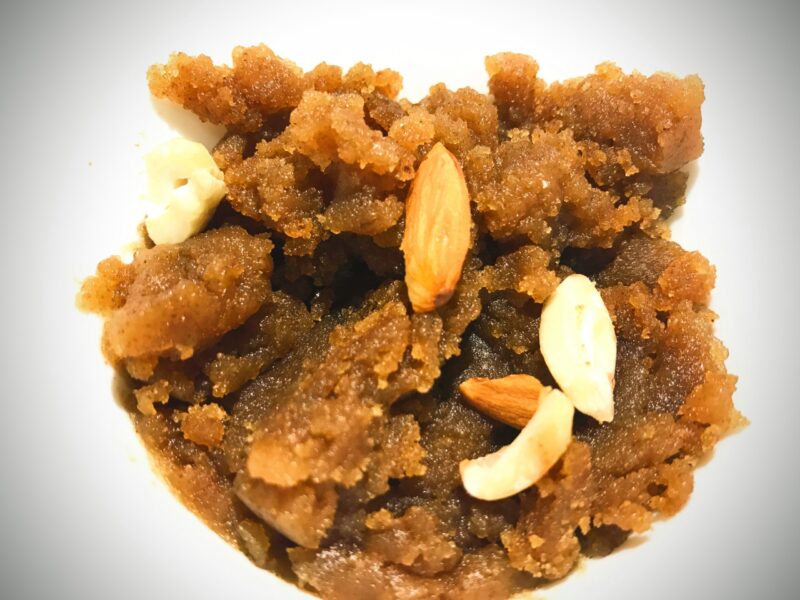
Wheat Halwa Recipe – Delicious Atta Halwa
The secret to a perfect Atta Halwa lies in achieving that ideal balance of sweetness, nuttiness, and ghee-rich goodness. It’s a dessert that’s simple at its core but delivers layers of flavor with every spoonful. Serve it warm as a dessert or enjoy it alongside puris for an indulgent breakfast spread—it’s sure to impress no matter the occasion.
Lately, I’ve found myself on a culinary adventure, diving headfirst into the world of exotic Indian delicacies. Gujarati Dhokla stole my heart with its spongy, tangy-sweet charm, while Churma Ladoo became an obsession with its crumbly texture and caramelized sweetness.
Naturally, the next stop on my journey was halwa—a dessert that brings an unmatched sense of celebration to any table.
This recipe for Atta Halwa combines traditional techniques with a touch of experimentation to achieve that luscious, melt-in-your-mouth texture we all love.
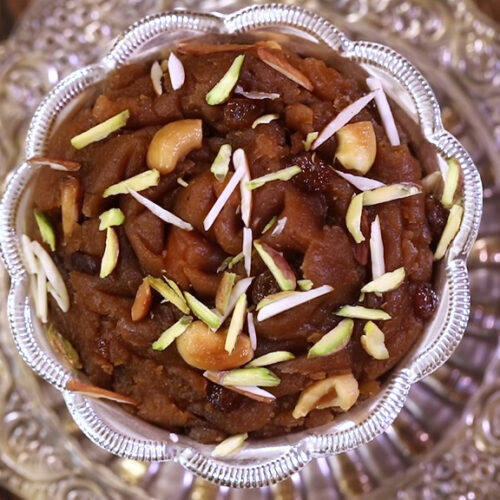
Wheat Halwa Recipe
Equipment
- Heavy-bottomed pan or kadhai
- Whisk or spatula
- Measuring cups and spoons
- Medium-sized saucepan for boiling water
Ingredients
- 1 Cup Wheat flour (atta)
- ½ Cup Ghee
- ¾ Cup Sugar (adjust to taste)
- 2½ Cups Water
- ¼ Tsp Cardamom powder
- 2 Tbsp Chopped nuts (almonds, cashews, or pistachios)
Instructions
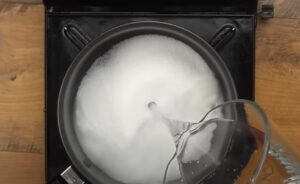
- Step 1: Prepare the WaterIn a medium saucepan, heat 2½ cups of water until warm.Add the sugar to the warm water and stir until completely dissolved. Keep the mixture warm on low heat.
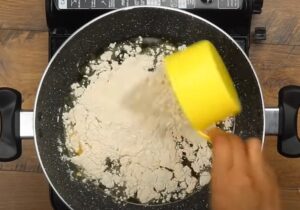
- Step 2: Roast the FlourHeat the ghee in a heavy-bottomed pan over medium heat.Add the wheat flour to the pan and start roasting it, stirring continuously.Roast for 8–10 minutes until the flour turns golden brown and releases a nutty aroma. Be patient—this step ensures the halwa has the right depth of flavor.
- Step 3: Combine Flour and WaterReduce the heat to low. Carefully pour the warm sugar water into the roasted flour, stirring constantly to avoid lumps.The mixture will sizzle initially—don’t worry, this is normal.
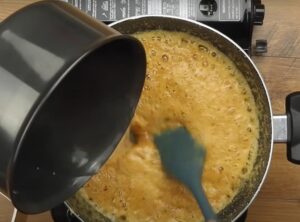
- Step 4: Cook the HalwaStir the mixture continuously as it thickens, ensuring it doesn’t stick to the bottom of the pan.Cook for 5–7 minutes until the halwa pulls away from the sides of the pan and reaches a smooth, glossy consistency.
- Step 5: Add Flavor and ServeStir in the cardamom powder for a warm, aromatic finish.Garnish with chopped nuts if desired and serve warm.

Video
Notes
- Low and slow is the key: Roast the flour patiently for a rich flavor; rushing this step may leave the flour undercooked.
- Ghee balance: Use good quality ghee for the best taste. You can reduce the quantity slightly, but the halwa might lose its signature richness.
- Lumps? No problem: If lumps form, use a whisk to smooth out the mixture.
- Customizable sweetness: Adjust the sugar level to your preference or substitute with jaggery for a deeper flavor.
Variations You Can Try
- Jaggery Wheat Halwa: Swap out sugar with jaggery for a deeper, caramel-like sweetness and a slightly earthy flavor. Perfect for a rustic twist!
- Milk-Based Halwa: Replace water with milk for a creamier, richer texture. This version pairs beautifully with toasted nuts.
- Dry Fruit Explosion: Add a mix of raisins, dates, and figs along with nuts to make a more indulgent, nutrient-packed halwa.
- Coconut Halwa: Stir in freshly grated coconut or desiccated coconut towards the end for a tropical flavor profile.
- Spiced Halwa: Enhance the aroma with a pinch of saffron strands soaked in warm milk or a dash of nutmeg powder along with the cardamom.
Common Mistakes to Avoid
- Under-roasting the Flour: If the wheat flour isn’t roasted well, the halwa will taste raw and lack depth. Take your time until it turns golden and fragrant.
- Overcooking the Mixture: Halwa thickens as it cools. Stop cooking when it’s slightly loose to avoid a dry, sticky texture.
- Lumpy Halwa: Always stir continuously while adding the sugar water to the roasted flour. Slow, steady pouring and constant stirring prevent lumps.
- Skimping on Ghee: Ghee is what gives halwa its luscious texture and rich taste. Reducing it too much might compromise the dish’s authenticity.
- Incorrect Water Ratio: Stick to the recommended water-to-flour ratio. Too little water will make the halwa dry, while too much will make it gooey.
FAQs
1. Can I make Atta Halwa vegan?
Absolutely! Replace ghee with coconut oil or any neutral plant-based butter. Additionally, you can use jaggery instead of sugar for a wholesome, vegan-friendly version.
2. What is the shelf life of Atta Halwa?
Wheat Halwa can be stored in an airtight container in the refrigerator for up to 3–4 days. Reheat it with a splash of water or milk to restore its creamy texture before serving.
3. How can I make Halwa without lumps?
If you’re worried about lumps, use a whisk instead of a spatula when adding the sugar water. Pour the water in small batches and whisk vigorously to ensure a smooth consistency.
4. Can I make Atta Halwa in advance?
Yes, you can make it a day ahead! Just store it in the refrigerator and reheat it gently on the stove with a little extra water or milk to refresh the texture. Garnish freshly before serving for the best presentation.
5. What are some fun ways to serve Atta Halwa?
- Serve it as a dessert with a scoop of vanilla ice cream for a hot-and-cold combo.
- Use halwa as a filling for crepes or wraps for an innovative dessert twist.
- Pair it with fresh fruits like sliced bananas or berries to add a refreshing element.
- Top it with a drizzle of chocolate or caramel sauce for a fusion-inspired indulgence.
Final Words
Wheat Halwa is a dish that doesn’t need over-the-top descriptions or fancy presentations—it’s simple, satisfying, and absolutely delicious. There’s something grounding about making it, from the slow roasting of the flour to the aroma of ghee and cardamom filling the kitchen. It’s not just about eating; it’s about creating something with care and sharing it with the people you love.
I’ve had my fair share of hits and misses while perfecting this recipe, but the beauty of halwa is that even the “not perfect” versions still taste amazing. Try it, tweak it, make it yours—and don’t hold back on the ghee.
Hello, my name is Marina Vlasov. Im currently trying to change my career from my current job to becoming a chef. It is a hard road, but I feel like im coming there soon. While I enjoy preparing practically all food, from various cuisines from all over the globe, I must say that I mostly enjoy preparing vegan food. That is my strongest side. That is why I want to provide you with the best vegan food recipes on this blog of mine.

