Vegan Meal Prep – How to Plan and Store Your Weekly Plant-Based Meals
Starting a plant-based lifestyle is exciting, but when your weekdays get busy, cooking fresh every day can quickly feel like a chore. That’s where vegan meal prep comes in.
It’s not just about being efficient—it’s about freeing up time, saving money, and making sure you always have something nourishing, balanced, and tasty within reach.
In short: Vegan meal prep is the smart way to stay consistent and stress-free. With the right planning and storage, you can prep full meals or components for the week without feeling like you’re eating the same thing every day.
A Step-by-Step Guide

Step 1: Choose Your Prep Day and Set the Time
Start by choosing a dedicated meal prep day. For most people, this is usually a Sunday or a quiet weekday evening like Monday—but honestly, it should be whatever day you feel least rushed and most focused.
Set aside about 1.5 to 2 hours the first time you do it. That might sound like a lot, but once you get into a rhythm, you’ll likely get faster each week.
It’s important to treat this as an intentional window—put on your favorite playlist or podcast, get your ingredients ready, and think of it less like a chore and more like setting your future self up for success.
Step 2: Plan Your Meals with Purpose
View this post on Instagram
Before you cook anything, sit down and figure out what you want to eat over the next 3 to 5 days. You don’t need to plan 21 different meals—that’s overwhelming and leads to burnout. Instead, focus on meals that share ingredients or base components.
For example, if you cook a big batch of quinoa, you can use it in a Buddha bowl, or a wrap, and even toss it into a soup.
Try to structure your planning into broad categories like breakfasts, lunches, dinners, and snacks. Ask yourself:
- What meals am I always rushing to make?
- Which meals do I want variety in?
- What do I enjoy eating again and again?
Write everything down. A simple notepad or a Google Doc works great. If you’re visual, use a weekly calendar or planner to map out your meals.
Step 3: Build Your Grocery List Around Your Menu
Once you’ve got your meals laid out, it’s time to create a grocery list. Go through each recipe or meal idea and write out the ingredients. Then consolidate them—group all your veggies together, pantry staples, frozen items, etc.
Be strategic here. If you’re using kale for two meals, don’t buy three bunches—just get what you’ll realistically use. Check your fridge and pantry before you shop so you’re not doubling up on items you already have (hello, third jar of tahini).
Buy grains and legumes in bulk when possible—they’re cheaper and shelf-stable. For fresh produce, stick to what you know you’ll use in 3–5 days unless you plan to freeze or pickle.
Step 4: Cook in Logical Batches
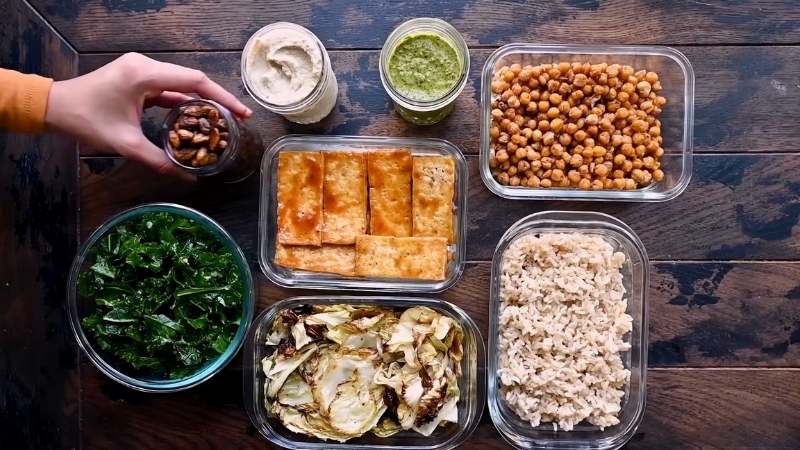
Once your groceries are home and your prep time begins, start by making your foundation foods. These are the building blocks of your meals—things like brown rice, quinoa, lentils, roasted veggies, tofu, and chickpeas.
Begin with anything that takes longer to cook, such as dried beans or baked sweet potatoes. While those are in the oven or on the stove, you can chop veggies, blend sauces, or portion out snack items. Keep your prep moving in layers—multitask by using both your stovetop and oven if possible.
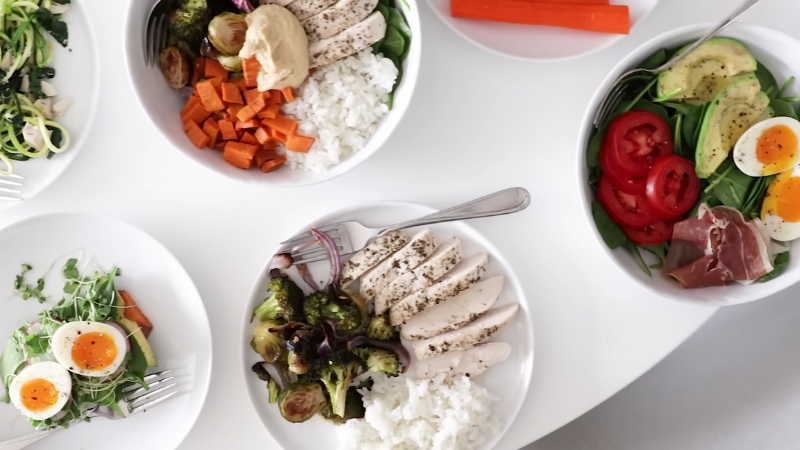
You don’t need to make every meal in full. Often, just having the components ready—cooked grains, roasted vegetables, pre-cut tofu, and a few flavorful sauces—is enough to build fresh meals on the spot with very little effort.
Step 5: Portion and Store Your Food Properly
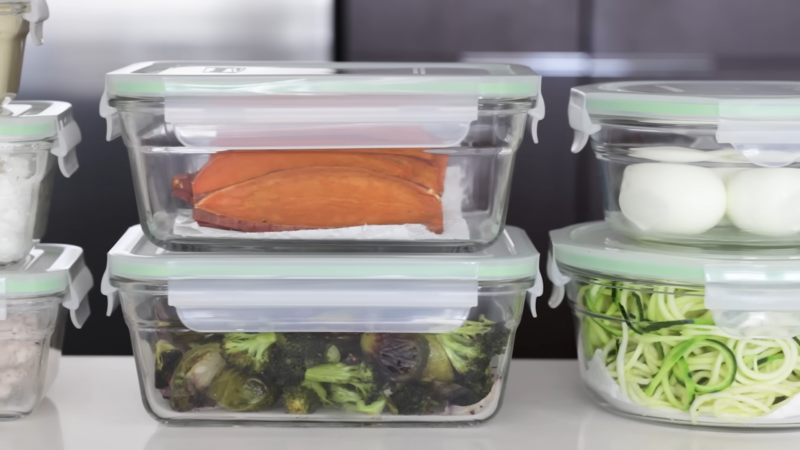
As your food finishes cooking and cooling, start portioning it into containers. Use airtight glass containers or BPA-free plastic options, and label them with the contents and date if that helps keep your fridge organized.
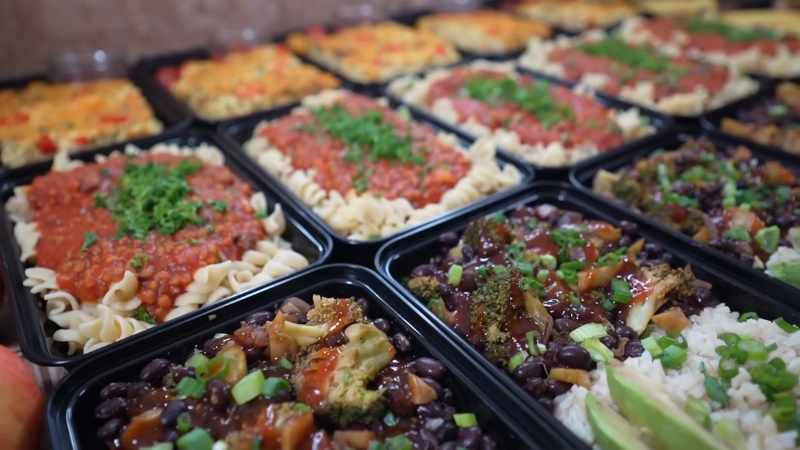
It’s a good idea to portion some meals fully for grab-and-go ease (great for lunches) while storing others in bulk—like a large container of chickpea curry or a tray of baked veggies—for mixing and matching.
Keep delicate greens, herbs, and sauces separate until serving to avoid sogginess. If you’re making salads, layer them with the wet ingredients at the bottom and greens on top. For freezer meals, let them cool completely before sealing and freezing to avoid ice crystals and freezer burn.
Step 6: Plan for Flexibility (and Fun)

Meal prep shouldn’t lock you into a rigid plan. Built-in flexibility. Maybe prep enough for five days, but leave space on the weekend to eat out or try something new.
Keep your favorite spice blends or sauces on hand so you can switch up the flavors throughout the week, even if the base ingredients stay the same.
You can even prep simple “flavor stations”—a jar of cashew cheese, some chimichurri, a peanut satay sauce—so that Monday’s bowl doesn’t taste exactly like Wednesday’s.
The first week might feel like a lot of work, but once you get used to the rhythm—shopping with intention, prepping with strategy, and storing with care—it becomes second nature.
Vegan Meals That Store Well
Here are meal ideas you can prep in advance that won’t lose taste, texture, or nutrients throughout the week.
Breakfast Ideas
Meal
Storage Notes
Tip
Overnight oats
Fridge 3–5 days
Use mason jars for portioning
Chia pudding
Fridge 4–5 days
Add fresh fruit just before serving
Vegan breakfast burritos
Freeze up to 1 month
Reheat in a toaster oven or a pan
Baked oatmeal bars
Fridge 5 days / Freeze 1 month
Great for kids and grab-and-go
Lunch & Dinner Bowls
Meal
Storage Notes
Tip
Quinoa + roasted veg bowls
Fridge 4–5 days
Add fresh avocado/sauce on serving day
Lentil stew or curry
Fridge 5 days / Freeze 2–3 months
Freezes very well
Tofu stir-fry with brown rice
Fridge 3–4 days
Crisp tofu separately for better texture
Chickpea salad wraps
Fridge 3–4 days
Store filling and wrapping separately
Batch Sauces & Sides
Sauce / Side
Storage
Notes
Cashew cheese sauce
Fridge 5 days / Freeze OK
Blend again if the texture changes
Hummus
Fridge 1 week
Add olive oil on top to keep it fresh
Tahini dressing
Fridge 7–10 days
Shake well before using
Roasted chickpeas
Pantry 3–4 days
Re-crisp in the oven if needed
How to Store and Label Your Food
@themealprepking The sexiest meal prep on tiktok #mealprep #fridge #fridgeorganization #fridgegoals #fridgecheck ♬ som original – Black Music.Hits
Refrigeration
- Store meals in glass or BPA-free plastic containers
- Label with name + date
- Keep leafy greens and sauces separate until serving
Freezing
- Use freezer-safe containers or silicone bags
- Portion into single servings for easy grab-and-reheat
- Let hot food cool before freezing to prevent freezer burn
Quick Tips to Stay on Track
Final Thoughts

Vegan meal prep isn’t about being rigid—it’s about giving yourself freedom. With just a little time upfront, you’ll have nourishing, flavorful meals that save you stress and support your plant-based goals.
You don’t need to prep everything. Start small. Pick two meals and build from there. The consistency will come, and your future self will thank you every time you open the fridge and see your week, ready to go.
Hello, my name is Marina Vlasov. Im currently trying to change my career from my current job to becoming a chef. It is a hard road, but I feel like im coming there soon. While I enjoy preparing practically all food, from various cuisines from all over the globe, I must say that I mostly enjoy preparing vegan food. That is my strongest side. That is why I want to provide you with the best vegan food recipes on this blog of mine.

