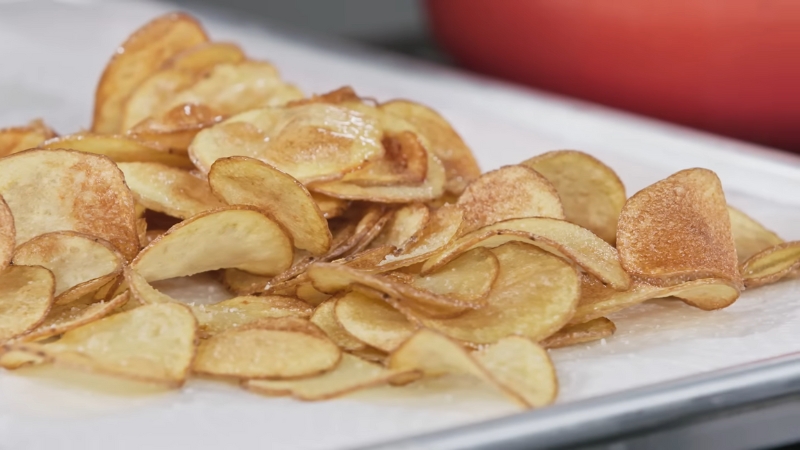
How to Make Crispy Homemade Potato Chips Without Deep Frying
Last weekend, I craved potato chips—crisp, salty, and satisfying—but I didn’t want the greasy aftermath of deep frying or the $4 price tag of a store bag.
I’d heard you could make them at home without a fryer, just an oven, and some patience, so I decided to give it a shot.
I grabbed a couple of potatoes from my pantry, and in about an hour, I had a tray of golden, crunchy chips that rivaled anything from a bag.
I love fried chips, but my tiny kitchen doesn’t handle oil well—the last time I tried frying, I spent an hour scrubbing the stove.
Plus, I wanted something lighter. Baking sounded promising: less mess, less fat, and I could control the salt.
I aimed for a snack to pair with my Sunday sandwich, and it worked so well that I ate half the batch before lunch even started.
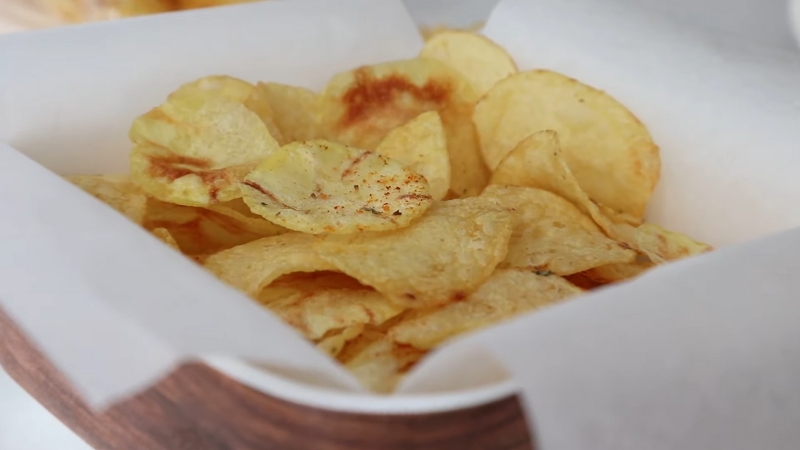
Homemade Baked Potato Chips
Equipment
- Sharp knife or mandoline (for even slices)
- Large bowl
- Baking sheet
- Parchment paper
- Paper towels
- Tongs or spatula
Ingredients
- 2 medium russet potatoes (about 1 pound)
- 2 tbsp olive oil
- 1 tsp salt
- ½ tsp black pepper (optional, for a slight kick)
Instructions
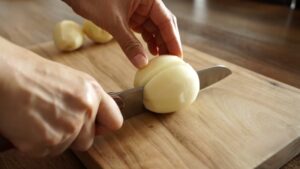
- Prep the PotatoesWash the potatoes under cold water and scrub off any dirt. (No need to peel—skins add crunch!)Slice the potatoes thin and evenly (about 1/16-inch thick). A mandoline makes this easier, but a sharp knife works too.
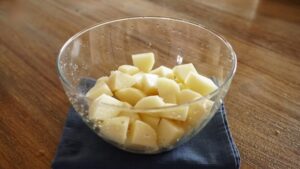
- Soak the SlicesPlace the potato slices in a large bowl filled with cold water.Soak for 20 minutes—this removes excess starch and helps them crisp up.Drain the slices and pat them completely dry with paper towels (wet potatoes = soggy chips).
- Season the Potato Chips and Arrange Them on the Baking TraySpread the dry slices on a clean surface.Drizzle 2 tablespoons of olive oil over them.Sprinkle with salt and pepper.Toss gently with your hands to coat evenly.Line a baking sheet with parchment paper for easy cleanup.Arrange the potato slices in a single layer, ensuring they don’t overlap.Preheat your oven to 400°F (200°C).
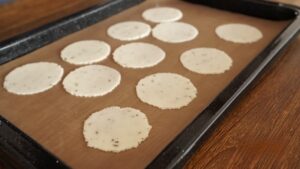
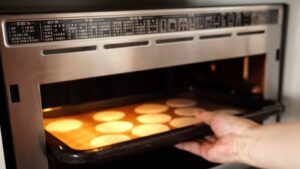
- Bake Until CrispyBake for 15 minutes, then check the chips—edges should be slightly golden.Use tongs to flip each slice.Bake for another 10-15 minutes until crispy and golden brown.Keep an eye on them—they burn quickly near the end!
- Cool & EnjoyLet the chips cool for 5 minutes on the baking sheet (they crisp up more as they sit).Taste-test one—if they’re not crispy enough, bake for another 2-3 minutes.Enjoy them warm, or store in an airtight container for up to 2 days.

Video
Notes
Cooking Tips
✔ Slice Evenly: Uneven slices cook at different rates—keep them uniform.✔ Don’t Skip the Soak: Removing starch prevents soggy chips.
✔ Keep the Oil Light: Too much makes them greasy; a light coat is best.
✔ Monitor Closely: They can go from perfect to burnt in seconds.
✔ Experiment with Seasoning: Try paprika, garlic powder, rosemary, or chili powder for variety.
What Can You Pair Them With?
View this post on Instagram
These chips were too good to eat alone, so I started thinking about pairings.
They went great with my Sunday turkey and cheddar sandwich—the crunch added a nice contrast to the soft bread.
I also tried them with a bowl of chili later that day; the saltiness cut through the richness perfectly.
They’d work with a creamy dip too—I mixed some sour cream with a pinch of garlic powder and dipped a few, which was delicious.
For a lighter option, I ate some alongside a simple salad with vinaigrette—the crisp texture balanced the greens.
They’re versatile—try them with a burger, soup, or even just a smear of hummus if you’ve got it around.
Bottom Line
These chips were a win—crisp, tasty, and no fryer mess.
They cost me next to nothing compared to store-bought, and I used half the oil I’d need to fry.
They went perfectly with my sandwich, and I’ve already made them again for a movie night.
Next time, I’ll try sweet potatoes or add some rosemary.
It’s so easy, I can’t believe I didn’t do it sooner. Grab some potatoes and heat your oven—you’ll love the result.
Hello, my name is Marina Vlasov. Im currently trying to change my career from my current job to becoming a chef. It is a hard road, but I feel like im coming there soon. While I enjoy preparing practically all food, from various cuisines from all over the globe, I must say that I mostly enjoy preparing vegan food. That is my strongest side. That is why I want to provide you with the best vegan food recipes on this blog of mine.

