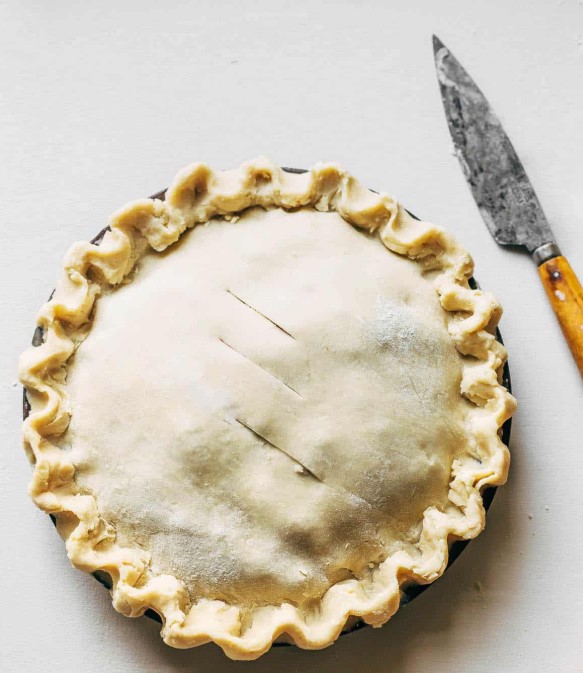
How to Make the Best Vegan Pie Crust Recipe at Home in 2025?
Let’s be honest: finding the perfect vegan pie crust recipe can feel like searching for a needle in a haystack. Some are too crumbly, others taste like cardboard, and a few seem to require ingredients only available in a wizard’s pantry. But not this one.
The pie crust is buttery (without the butter), flaky, and versatile enough for both sweet and savory pies. Whether you’re baking an apple pie to impress at a holiday gathering or whipping up a quiche for Sunday brunch, this recipe is your new best friend.
What makes this vegan pie crust so special? It’s easy to make, requires simple, pantry-friendly ingredients, and delivers on the texture and flavor front every single time. You don’t need to be a pro baker to pull it off—just a little patience and a lot of love for good pie. Trust me, once you try this recipe, you’ll never miss traditional pie crust again. Let’s get baking!
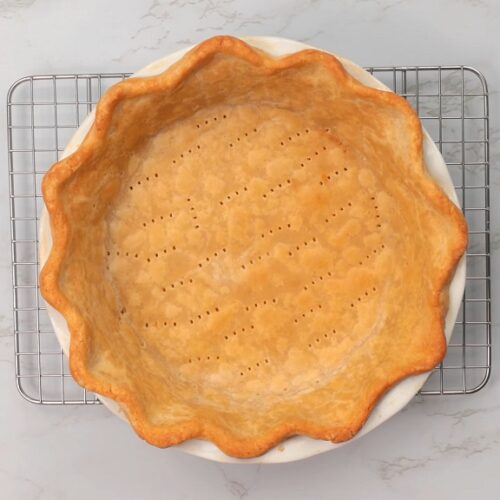
Recipe for Vegan Pie Crust
Equipment
- Mixing bowl
- Pastry cutter (or fork)
- Rolling pin
- Plastic wrap or parchment paper
- 9-inch pie dish
- Fork (for docking the crust)
- Weights for blind baking (optional – dried beans or pie weights work)
Ingredients
- 1¼ Cups All-purpose flour
- 1 Tbsp Tablespoon sugar (omit for savory pies)
- ½ Tsp Teaspoon salt
- ½ Cup Vegan butter or margarine (cold and diced)
- 2-4 Tbsp Ice-cold water
Instructions
- Prep the IngredientsGather all ingredients. Cut vegan butter into small cubes and place it in the freezer for 5–10 minutes to ensure it’s extra cold.Fill a small bowl with ice water
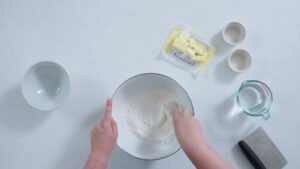
- Mix the Dry IngredientsIn a large mixing bowl, whisk together the flour, sugar, and salt.
- Cut in the ButterAdd the cold, cubed vegan butter to the bowl.Using a pastry cutter or fork, cut the butter into the flour mixture until it resembles coarse crumbs. Small pea-sized bits of butter are perfect—they create flakiness in the crust.
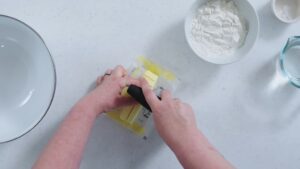
- Add the WaterStart with 2 tablespoons of ice water and mix gently with a fork.Add more water, 1 tablespoon at a time, until the dough just holds together when pinched. Avoid overmixing; the dough should be slightly crumbly but cohesive.

- Form the DoughTurn the dough out onto a lightly floured surface.Gently gather it into a ball, flatten it into a 1-inch thick disc, wrap it in plastic wrap or parchment paper, and refrigerate for at least 30 minutes.
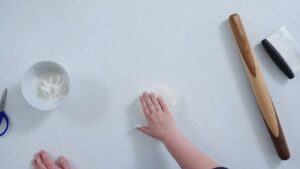
- Roll Out the DoughAfter chilling, roll the dough out on a lightly floured surface into a 12-inch circle.Rotate the dough as you roll to maintain an even thickness.
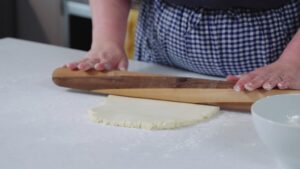
- Transfer to Pie Dish:Carefully transfer the dough to your 9-inch pie dish. Press it gently into the edges without stretching.Trim any overhang to about 1 inch, then fold it under and crimp the edges as desired.

- Chill AgainChill the prepared crust in the pie dish for another 15–20 minutes before baking.
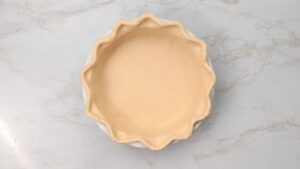
- Blind Bake (Optional)If your recipe calls for a pre-baked crust, preheat the oven to 375°F (190°C).Dock the crust with a fork to prevent bubbling, line it with parchment paper, and fill it with weights.Bake for 12–15 minutes, then remove weights and bake for another 5–7 minutes until lightly golden.
- Use as DesiredYour pie crust is now ready to be filled with sweet or savory fillings and baked to perfection!
Video
Notes
- Keep it Cool: Cold butter and water are key to a flaky crust. Don’t skip the chilling steps!
- Avoid Overworking: Handle the dough as little as possible to prevent it from becoming tough.
- Customizing for Savory Pies: Skip the sugar and add a pinch of dried herbs or spices for a savory twist.
- Freeze for Later: Freeze the dough disc or rolled-out crust for up to 3 months. Thaw overnight in the fridge before using.
How to Avoid a Soggy Bottom?
Nobody likes a pie with a soggy bottom. Through trial and error, I’ve learned how to avoid this pie nightmare, and it’s easier than you think.
Preheat Your Oven Properly
A fully preheated oven ensures that the crust sets quickly, forming a barrier before the filling can seep in. Never skip this step.
Use the Right Pie Dish
I recommend glass or metal pie dishes. They conduct heat well and allow you to monitor how the bottom crust is baking. Avoid ceramic dishes unless you’ve perfected your baking times.
Blind Baking is a Game-Changer
When making custard-based pies or other wet fillings, blind baking creates a solid foundation.
- Dock the crust by poking it with a fork to prevent bubbling.
- Use parchment paper and fill the crust with weights, like dried beans, for an even bake.
- Bake until the edges are just starting to turn golden, then let it cool before adding the filling.
How to Know When Your Pie Crust is Ready?
I’ve ruined crusts by overbaking or pulling them out too soon. Learning when a crust is ready can save you from pie disasters.
Check the Color
The edges should be golden, not pale. For a fully baked crust, the bottom should have a uniform golden hue.
Feel the Texture
If you touch the crust and it feels soft or doughy, it’s not ready. The surface should be firm, but not brittle.
Tap for a Hollow Sound
A gentle tap on the bottom of a blind-baked crust should produce a hollow sound. If it doesn’t, it likely needs more time.
Pay Attention to the Smell
The aroma of a fully baked crust is unmistakable. It should smell warm and slightly nutty, without any raw flour scent lingering.
Top Fillings That Pair Perfectly with Vegan Crust
A great crust deserves a filling that complements its texture and flavor. These combinations have never let me down:
Sweet Fillings
- Classic Apple Pie: Toss fresh apples with cinnamon, sugar, and a bit of lemon juice.
- Berry Medley: Use a mix of strawberries, blueberries, and raspberries for a tart and sweet explosion.
- Pumpkin Spice: Silky, spiced pumpkin puree sets beautifully in a vegan crust.
Savory Fillings
- Spinach and Mushroom Quiche: A rich, creamy filling with sautéed veggies is perfect for brunch.
- Tomato and Basil Tart: Thinly sliced tomatoes, fresh basil, and a drizzle of olive oil make a light but satisfying meal.
- Hearty Vegetable Pot Pie: Combine cooked root vegetables and a thick vegan gravy for a comforting dish.
Final Thoughts
Baking a vegan pie crust doesn’t have to feel overwhelming. Once you’ve nailed the basics and picked up a few tricks, it becomes second nature. I’ve learned that patience and attention to detail are the keys to a perfect crust. Whether you’re filling it with something sweet or savory, what matters most is the love and care you put into the process.
Hello, my name is Marina Vlasov. Im currently trying to change my career from my current job to becoming a chef. It is a hard road, but I feel like im coming there soon. While I enjoy preparing practically all food, from various cuisines from all over the globe, I must say that I mostly enjoy preparing vegan food. That is my strongest side. That is why I want to provide you with the best vegan food recipes on this blog of mine.

